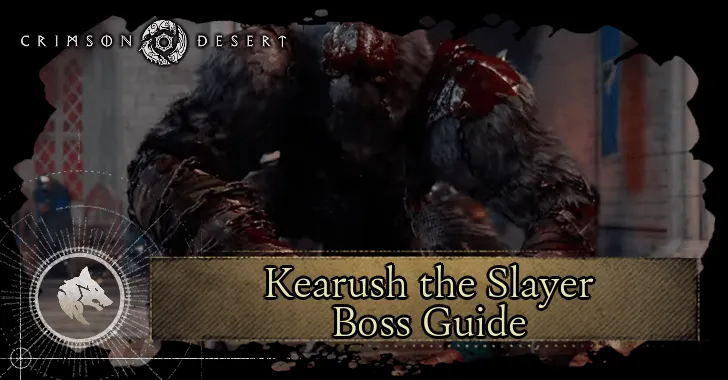
Kearush the Slayer
Field Notes
The Chapter 2 castle fight built around vertical movement: Back Hang lets you cling behind him and deal damage from safety, and grappling to walls dodges the slam attacks that punish anyone standing on the floor. The rhythm flips in the third phase — the tips say it plainly: stop attacking and play defensively until openings appear. No drops and no learnable skill, which makes this the rare fight that is purely a skills test; what you take away is fluency with the grapple kit itself. Walk in with the grapple kit practiced, not just unlocked — Back Hang and wall-grapples are the entire fight, and the castle arena gives you the walls to use them. Since there is no gear check here, failed attempts almost always trace to positioning rather than stats; if you are dying, the fix is spending more time airborne, not farming better armor. Clearing it advances the Chapter 2 storyline toward Tenebrum at the Institute.
Key Strategy
Use the Back Hang skill to safely deal damage
Combat Tips
- 1Use Back Hang to Deal Huge Damage
- 2Grapple to Walls to Avoid His Slam Attacks
- 3Play Defensively During His 3rd Phase